Native Plant Garden 101

Why Have a Native Plant Garden?

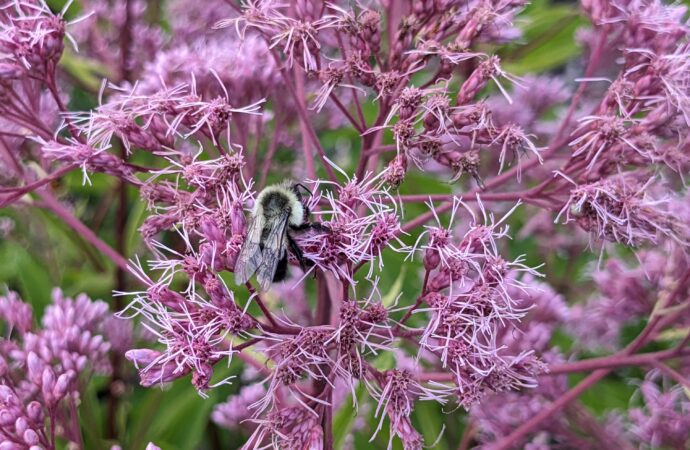
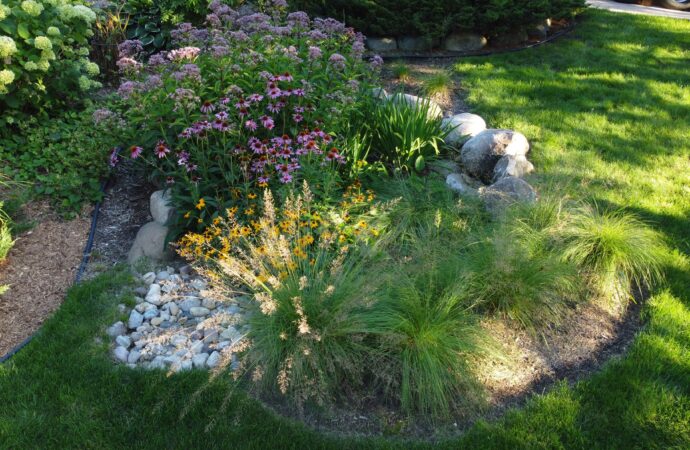
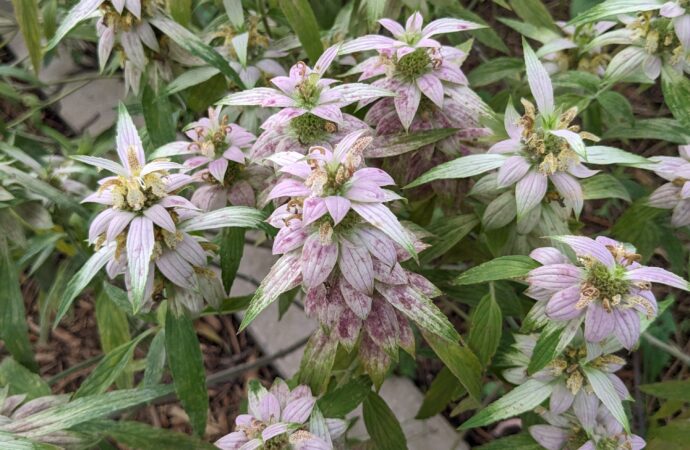
Native plant gardens highlight Minnesota’s natural beauty while supporting pollinators, wildlife, and the overall health of local ecosystems. By planting species adapted to the region’s environment, we help manage runoff—rainwater that flows over hard surfaces like rooftops, streets, sidewalks, and driveways, picking up pollutants on its way to lakes, rivers, and streams. Native plants absorb and filter rainwater where it falls, helping to reduce pollution in waterways and enhance flood control. Because they are adapted to Minnesota’s climate, they don’t require frequent maintenance. Once established, they’re pretty self-sufficient!

Where to Start

Project Type

Start by picking your project type: rain garden, turf alternatives, shoreline restoration and more! You can find project ideas on Blue Thumb’s project page.

Garden Location

After picking your project, determine where you will build your garden, keeping these factors in mind:

  • Soil type: dry, moist, medium
  • Amount of sun and shade
  • Level of usage for play or social gatherings
  • Areas surrounding your yard, like shoreline or wetlands
  • Local codes and regulations

Plant Selection

Once you determine your garden location and project type, you can browse lists of native plant species or use this native plant finder to discover plants that grow in your site’s sun and soil conditions.

Common sunny plants:

  • Butterfly Milkweed
  • Prairie Smoke
  • Purple Prairie Clover
  • Wild Bergamot

Common shady plants:

  • Jacob’s Ladder
  • Mountain Mint
  • Pagoda Dogwood
  • Wild Geranium

What About Cultivars?

Cultivars are native plants that have been genetically modified to look a certain way. While they look appealing, they provide little nutritional value to pollinators and don’t support the ecosystem like native plants do. You can spot cultivars in nurseries by looking for quotations around the plant name, an “x” between species names, or general whimsical names (ex. ‘Cinderella’ Swamp Milkweed). You can learn more about cultivars from Blue Thumb’s cultivars handout.

Installing Your Garden

Visit Blue Thumb’s project page to find installation tips for your specific project type. For general installation guidance:

  1. Prepare your site by removing weeds and sod (if applicable) to reach bare soil.
  2. Rake and/or turn soil to loosen it up.
  3. Gather your materials (plants, mulch, compost, rocks, etc.).
  4. Apply mulch or compost.
  5. Lay out your plants to help you visualize spacing.
  6. Once satisfied with spacing, dig a hole 3 to 4 inches deep.
  7. Remove plant from its container and gently massage roots so they are not bunched up.
  8. Place plant roots into the hole and gently pack the soil and mulch around it, ensuring the roots are snug and the plant is level.
  9. Repeat until all plants are installed.
  10. Water immediately and enjoy your new garden!

Project Funding

Worried about costs? RWMWD offers funding for 50-100% of project costs for eligible projects through our Stewardship Grants program.